



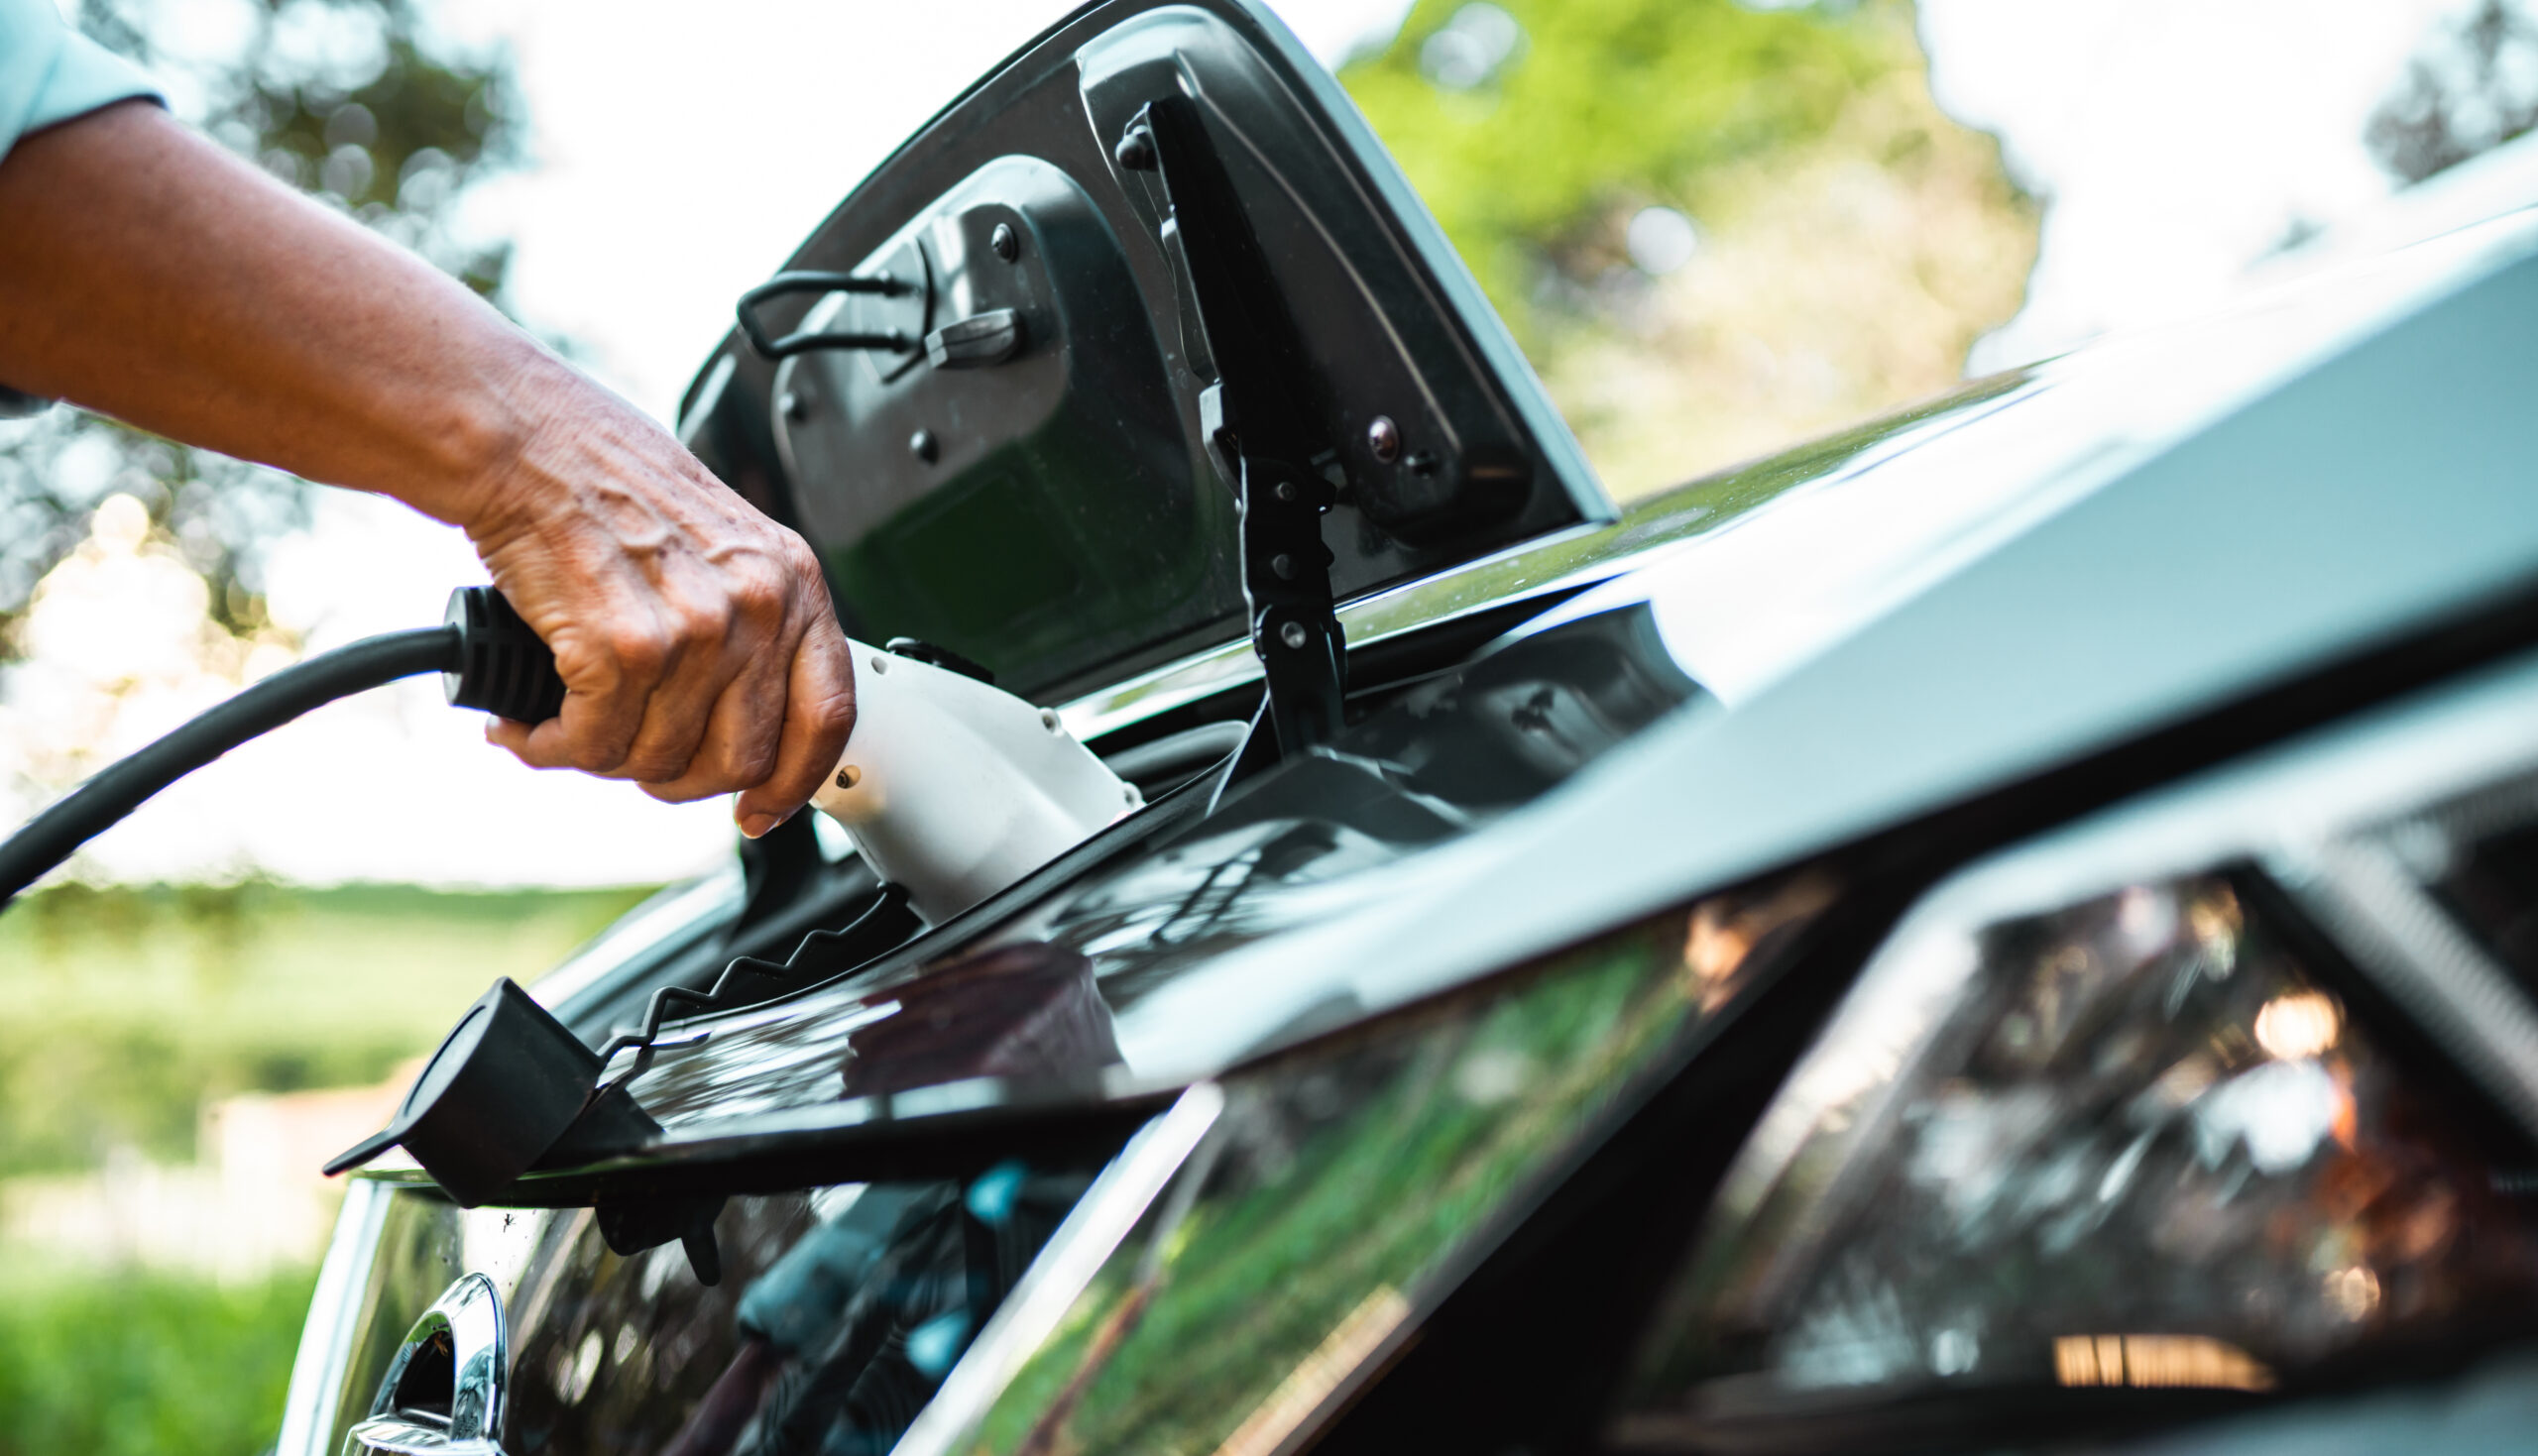
When drivers switch to electric vehicles, installing a home EV charger has become one of the most practical upgrades a homeowner can make. While some people consider DIY installation, a professional installation ensures everything is done right the first time, and your home and charging station remain up to code. Below is an overview of what a professional installation typically involves, helping you to feel more confident and prepared in your own installation.
Initial Consultation and Site Assessment
The process begins with a consultation where the installer evaluates your home’s layout, parking setup, and charging habits. They’ll look at where you park your vehicle, how far the charger needs to reach, and whether the installation will be indoors or outdoors. This is also when you’ll discuss charger types, amperage options, and whether you want a standard or smart charger.
Electrical Panel Evaluation
One of the most important steps is determining whether your electrical panel can support a Level 2 charger. Electricians perform load calculations to see how much capacity your home currently uses and how much is available. If your panel is older or already near capacity, the installer may recommend an upgrade or the addition of a subpanel. This ensures your charger operates safely without overloading your electrical system.
Permits, Code Requirements, and Safety Standards
Professional installers handle all permitting and code compliance on your behalf. They understand local regulations, National Electrical Code (NEC) requirements, and safety standards that must be met for EV charging circuits. This includes proper grounding, GFCI protection, conduit routing, and ensuring the installation passes inspection. Handling these steps correctly is essential—not only for safety but also for maintaining your homeowner’s insurance and equipment warranties.
Installation Day: What Actually Happens
On installation day, the electrician will run wiring from your electrical panel to the charger location, install the necessary breaker, and mount the charger securely. If the charger is outdoors, they’ll ensure proper weatherproofing and use outdoor‑rated materials. Once everything is connected, the installer tests the system to confirm it’s delivering the correct amperage and operating safely. Most installations take just a few hours, depending on wiring distance and panel accessibility.
Smart Charger Setup and System Integration
If you choose a smart charger, the installer will help connect it to your Wi‑Fi and set up features like charging schedules, load balancing, and energy monitoring. Homeowners with solar panels or home energy management systems can also integrate their charger for optimized performance. A professional ensures everything is configured correctly so you can take full advantage of your charger’s capabilities.
Final Inspection, Walkthrough, and Homeowner Training
After installation, a final inspection may be required by your local jurisdiction. The electrician will walk you through how to use your charger, how to monitor charging status, and what maintenance steps to follow. They’ll also explain warranty details and what to watch for over time, such as signs of wear or electrical issues. This final walkthrough ensures you feel confident using your new charger safely and effectively.
A professional EV charger installation gives you long‑term confidence that your system is safe, efficient, and fully up to code. From the initial assessment to the final walkthrough, licensed electricians handle the details that matter most—ensuring your charger performs reliably and integrates smoothly with your home’s electrical setup. Small enhancements, like adding a ceiling fan to improve airflow and comfort in your garage, can make the charging area even more enjoyable to use. With the right installation and a well‑planned environment, you can enjoy faster charging, greater convenience, and a setup that supports your home’s evolving energy needs.